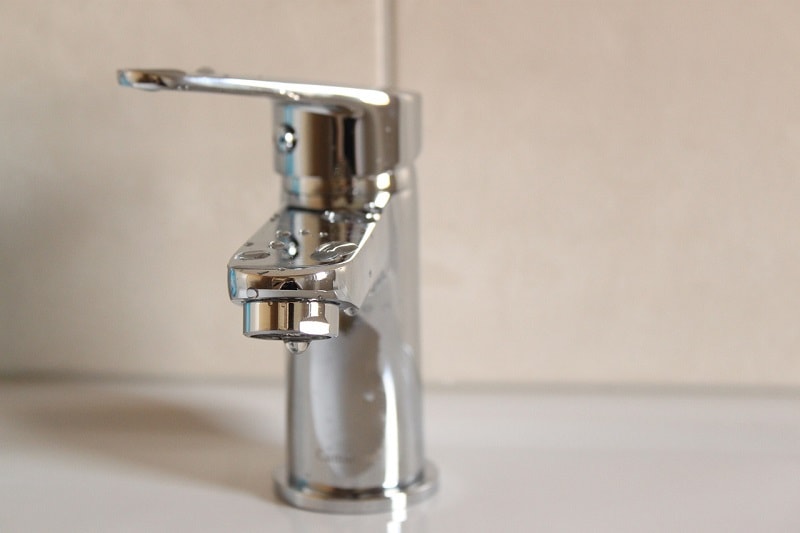
Are you experiencing an unusual drip from your faucet in the kitchen? Have you noticed a permanent water puddle at its base?
If yes, I can understand the annoyance you feel. The water wasted as a result is not something one can ignore. Imagine the tons to be wasted when this happens for a long period of time. Even worse is the unwanted expense when it gets to the point where the only solution is to replace it.
Thus knowing how to fix leaky kitchen faucet as soon as possible saves you money. Contained in this post is all you need to know about a leaky faucet and how you can get it fixed.
Types of Faucets
1. Ceramic Disk Faucet

This kitchen faucet type is characterized by a ceramic cylinder underneath the handle. Put simply, it’s a cartridge with a ceramic disk.
Owing to their material, they are durable, and usually work for a long time flawlessly before any sign of a leak is discovered.
2. Cartridge Faucet
This faucet type comes bearing a single cartridge under its handle. They are a very commonly patronized type of kitchen faucet. In fact, a good number of faucet brands use a cartridge of some type.
They are usually durable, but as the ball faucet, they can be somewhat difficult to repair.
3. Ball Faucet
This is one type of faucet that contains a lot of parts, and finding the source and cause of the leak is usually difficult. As the name implies, it is composed of a ball bearing under the handle controlling the flow of water.
They are usually durable, but at the same time expensive and complicated to repair.
4. Compression Faucet

This faucet is usually easily distinguished from others as it is composed of two handles (one for cold water and the other for hot water. Generally, the water sets in from a central sprout.
They are usually easy to repair, and the tag on their spare parts are low priced.
Causes of a Leaky Faucet
There are many reasons that give rise to leaks in a faucet. For the sake of this post, let us look at the four most common causes.
1. Issues with the O-Ring
The O-ring is the small disc contained in a stem crew that helps in holding a faucet handle in place. This functions as a seal for the faucet, but it becomes loose or worn after being used regularly.
It is usually typical of a cartridge kitchen faucet and any malfunction results in a leak or drip around the handle.
2. The Valve Seat Corrosion
This is particular to compression faucets, where the spout is connected to the mechanism of the water by a valve seat. The presence of mineral deposits and sediments can lead to corrosion, thereby causing a cause of leakage around the area of the spout.
3. Wear of the Washer
Every time a faucet is being used, the washers and the valve seat come in contact with one another. As is typical of any friction, the rubber begins to wear and become effective. The obvious result is that when the water reaches the seal, the tap begins to drip.
This issue is also associated with the compression type faucet.
4. Improper Installation
This goes out to all types of faucet, a properly installed faucet requires all washers and seals being placed right. Any improper installation results in a leaking faucet.
How To Detect Leaks in a Kitchen Faucet
Determining where the leak is coming from is usually one of the first things to be done. There are usually two places you can find water leaking in a kitchen faucet;
1. Leaking from the Spout
This is usually the clearest and quite easy to detect a leak. This can be observed or detected when after water is turned off, you still see a drip from the faucet spout.
You usually find yourself trying to adjust the handle, either to tighten it more or rightly position to prevent water flowing. To test for this leak, you should check for moisture around the sprout after a few hours of being turned off.
2. Leaking from the Faucet’s Base
This form of leak is not as easily detected as the other. This is because it happens during the flow of water. It is normal for water to be splashed around the faucet’s base when we run water, and this usually pools on the deck of the sink.
To be able to test for a leak in this area requires the faucet’s base and the surrounding area dried up. When that happens, turn the faucet on and observe the bottom for any sign of water seepage.
Tools and Materials Required for Fixing a Leaky Faucet
To avoid frustration and save time on fixing your kitchen faucet, the following tools are necessary and recommended. You should get them lined up before you begin or start the project
Tools
- No products found.
- No products found.
- No products found.
- No products found.
- No products found.
Materials
- Faucet repair kit
- O-ring seals
- Packing grease
- Water diverter
Steps to Fixing a Leaky Kitchen Faucet

It is usual for a kitchen faucet to leak at some point, no matter how technologically advanced and expensive it is. It is recommended to check for these leaks and repair early enough before they eat too deep into the faucet. This process can be daunting, but once you get a hold of the basics, faucet repair becomes fairly easy.
The steps and tools required for fixing a leaky faucet usually vary a little depending on the type of faucet you’re dealing with. I’ll show you, step by step, the repair process for fixing the various type of kitchen faucet.
For Compression Faucet:
1. With the use of Phillips or straight screwdriver remove the handles
2. With the help of a wrench, unscrew the nut and loosen the stem from the faucet body. After doing so, the O-ring becomes visible
3. Inspect the washers and the O-ring. A leak around the faucet’s handle means changing the O-ring. But, change the washer if the leak is on the body of the faucet.
4. After the washer or the O-ring has been replaced, it’s time to reassemble the handle. As much as possible, do the same for both handles.
For Ball Faucet:
1. Take off the handle
2. With the help of pliers or a wrench, remove both the collar and cap.
3. Loosen the cam with the help of the specialized tool in the repair kit and lift it out.
4. Also remove the baller and washer.
5. With the help of some thin pliers, reach deep into the faucet’s body and remove the springs and seals
6. Remove the old O-rings by cutting and replace with new ones coated with plumbers grease or Vaseline before installing.
7. Replace all the old elements such as springs, washers, cam, and valve seats.
8. Reassemble the faucet with the removed and replaced parts.
For Cartridge Faucet:
1. Pull out the handle by removing the screw and tilting the handle back
2. With the help of pliers, take out the retaining nut usually used by some cartridge faucet to uphold the cartridge.
3. Pull out the cartridge
4. With the help of a wrench, pull out the faucet spout, locate and cut off the O-rings with the help of a knife
5. Using the plumber’s grease or Vaseline, coat the new O-rings, and afterward try installing them.
6. Get the handle reassembled.
For Ceramic Faucet:
1. Take off the handle – This should enable you to see the escutcheon cap
2. Remove the escutcheon cap usually made of metals sitting just under the handle
3. With the help of a wrench, pull out the disk cylinder, thus leaving the neoprene seals exposed
4. Pull off the seals and get them cleaned up using white vinegar. Should the seals be in bad shape, get new ones, and replace.
5. Put back or replace the handle and seats as the case may be. Reassemble the faucet and start by slowly turning on the water.
Final Words On How to Fix Leaky Kitchen Faucet
You will agree with me that nobody desires to have a leaky faucet lying in their kitchen, but these things are likely to happen as nothing lasts forever.
It is important to be armed with the repair know-how when it gets to happen. Fixing a kitchen doesn’t have to be expensive and difficult if you know how to go about it and detect early enough this problem.
I am certain that after going through this guide, you should no longer have a problem with how to fix a leaky kitchen faucet. Should you encounter any difficulty, you can seek help from experts.
Did you get any value? Do you have a question on the above topic? I look forward to your response on the comment section below.
Did you like “How to Fix Leaky Kitchen Faucet?”? We would greatly appreciate it if you share this on your favorite social media channel.
Some of our sources:
- https://www.thisoldhouse.com/platform/amp/kitchens/21097141/how-to-stop-kitchen-faucet-leaks
- https://sensibledigs.com/fix-leaky-kitchen-faucet/
- https://www.fpbnyc.com/fix-a-leaky-kitchen-faucet/
- https://www.kitchenfaucetcenter.com/how-to-repair-a-leaking-kitchen-faucet/
Last update on 2024-03-28 / Affiliate links / Images from Amazon Product Advertising API

Be the first to comment